I’ve been thinking about cross platform GUIs, and one question led to the next and eventually I was asking: how do pixels end up on the monitor? A pretty neat stack overflow response answers:
The image displayed on the monitor is stored in your computer’s video RAM on the graphics card in a structure called a framebuffer.
The data in the video RAM can be generated by the GPU or by the CPU. The video RAM is continuously read out by a specialized DMA component on the video card and sent to the monitor. The signal output to the monitor is either an analog signal (VGA) where the color components are sent through digital to analog converters before leaving the card, or a digital signal in the case of HDMI or DVI.
Now, you probably realize that for a 1920x1080 display with 4 bytes per pixel, you only need about 8 MB to store the image, but the video RAM in your computer is probably many times that size. This is because the video RAM is not only intended for storing the framebuffer. The video RAM is directly connected to the GPU, a special purpose processor designed for efficient 3D rendering and video decoding.
Which is super informative, and also explains why my monitors are directly plugged into my GPU via DVI. Another answer I found said no modern operating system will let you access the framebuffer directly. BUT LUCKILY THAT’S WRONG. With another stackexchange tip, it’s as easy as:
> cat /dev/urandom > /dev/fb0
-bash: /dev/fb0: Permission denied
> sudo cat /dev/urandom > /dev/fb0
-bash: /dev/fb0: Permission denied
> ls -al /dev/fb0
crw-rw---- 1 root video 29, 0 Apr  4 00:21 /dev/fb0
> sudo adduser seena video
> cat /dev/urandom > /dev/fb0
Glossing over why sudo would mysteriously not work, this writes a bunch of noise out to the monitor:

Awesome! The kernel framebuffer docs
have some general info, but the gist is /dev/fb0 acts like any other memory device in /dev and
we can write to it like a file. Since it’s just a memory buffer, any write will overwrite the
existing value, which you can see when the console prompt immeidately overwrites the noise.
Also, you can even read from the framebuffer, taking a screenshot with cp /dev/fb0
screenshot which would have been helpful before I took a bunch of pictures with my phone.
Gradients
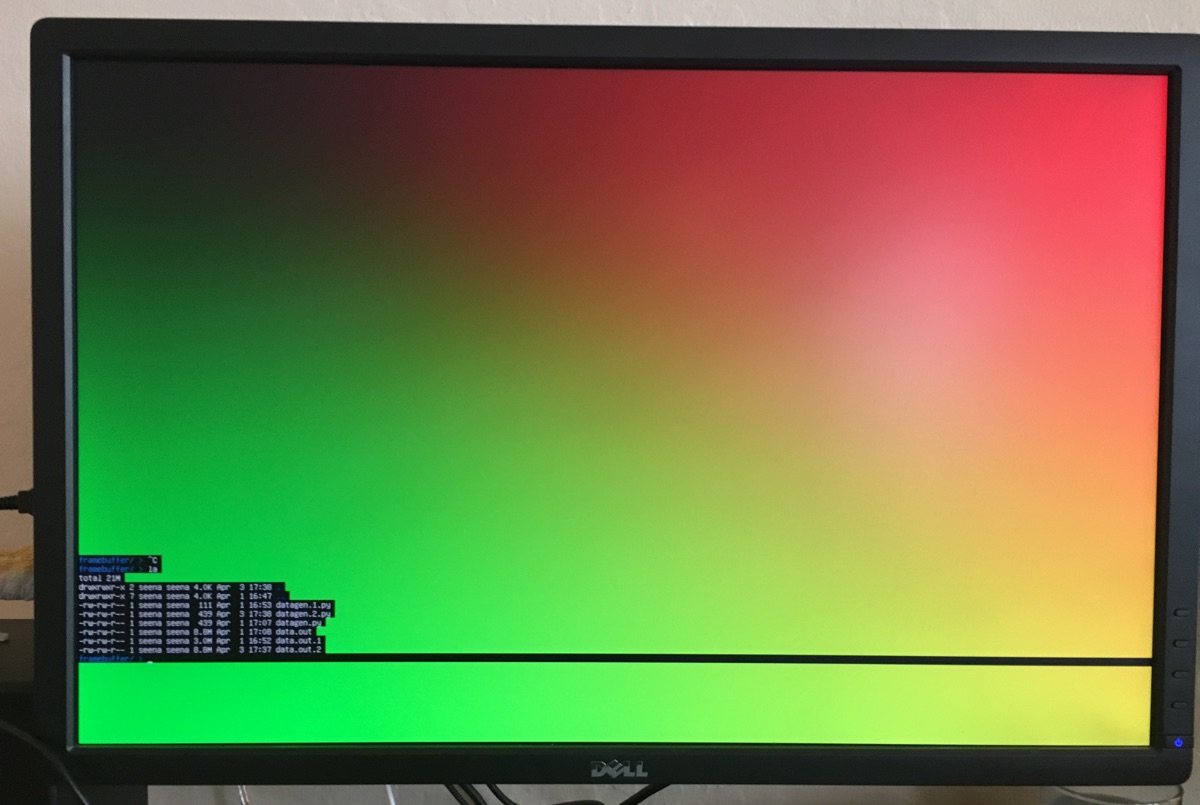
Alright, so the stackexchange answer also gives a script to write out a red box, but I wanted to take a shot at a gradient. After permuting the following lines a bunch of times, I settled on: the monitor is written to one horizontal line at a time, with one byte for Blue,Green,Red,Alpha(?) per pixel (seems like 24-bit true color).
xsize = 1920
ysize = 1200
with open('data.out', 'wb') as f:
  for y in range(0,ysize):
    for x in range(0,xsize):
      r = int(min(x / (xsize/256),255))
      g = int(min(y / (ysize/256),255))
      b = 0
      f.write((b).to_bytes(1, byteorder='little'))
      f.write((g).to_bytes(1, byteorder='little'))
      f.write((r).to_bytes(1, byteorder='little'))
      f.write((0).to_bytes(1, byteorder='little'))
Text
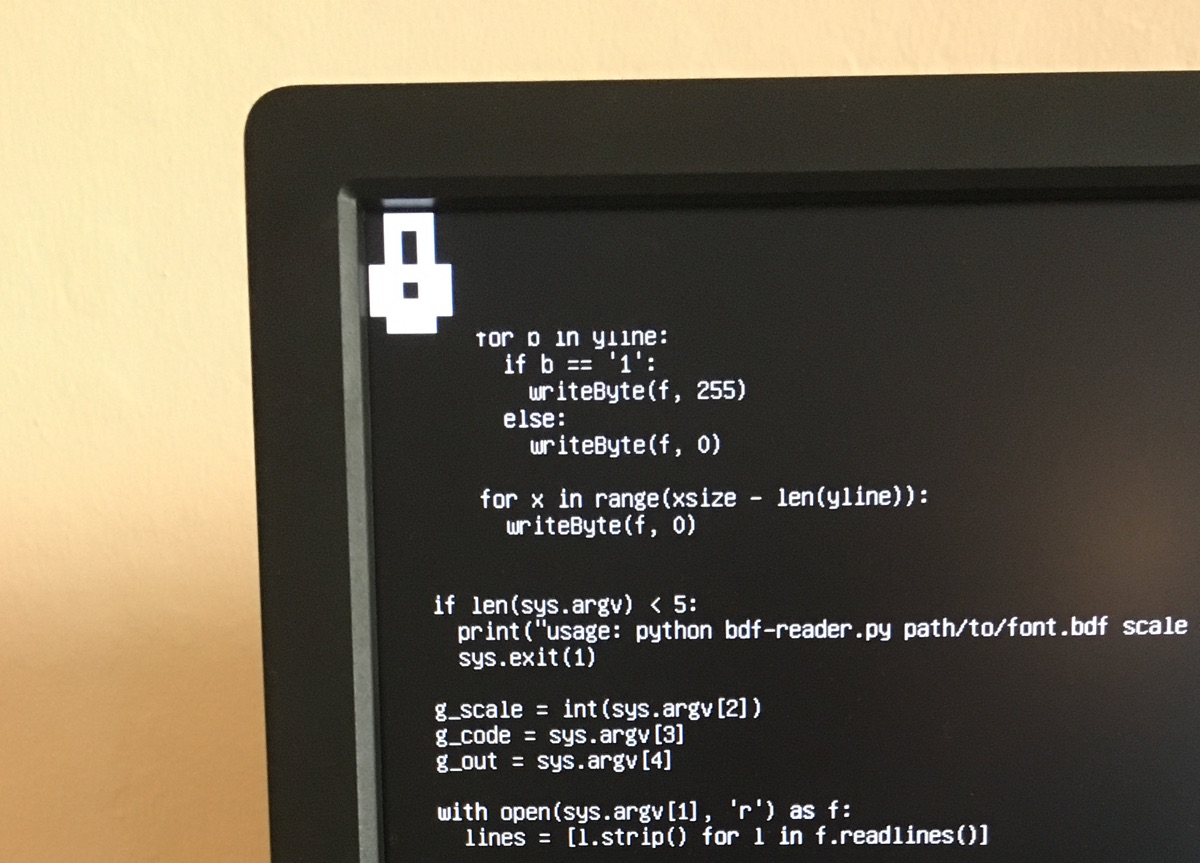
I’ve been running this from the linux console (rather than x server or another display server), which I believe is just rendering text and basic colors to the framebuffer. I should be able to do that too. I grabbed Lemon, a bitmap font I used to use. Bitmap fonts describe characters as a grid of bits, which can be easily rendered without much thought about the complexity/horrors of text rendering, aliasing and the likes.
I started a janky reader for BDF files, and then started to regret this idea and my python script. Nevertheless, I produced a single “lock” icon from the font, drawn to the framebuffer! This could be extended to write out a text string, but again, it was really janky.
Images
Okay so at this point, it’s not much of a stretch to render out an image to the framebuffer. We’ve
already got a smooth color gradient and an image is just a file format we have to read pixel data to
and encode/dump to the framebuffer. I exported an image as a TGA file (just an uncompressed format
for easy parsing, also tried BMP), and used pyTGA to write the
image straight out. What’s neat is you can use seek to skip over pixels, rather than having offset
write out black pixels.
Here’s the little TGA renderer python script:
import sys
import os
import tga

if len(sys.argv) < 4:
  print("Usage: tga.py xsize xoff yoff input output")
  sys.exit(1)

g_xsize = int(sys.argv[1])
g_xoff = int(sys.argv[2])
g_yoff = int(sys.argv[3])
g_input = sys.argv[4]
g_output = sys.argv[5]

img = tga.Image()
img.load(g_input)
header = img._header

with open(g_output, 'wb') as f:
  f.seek(g_yoff * 4 * g_xsize, os.SEEK_CUR)
  for y in range(header.image_height):
    f.seek(g_xoff * 4, os.SEEK_CUR)

    for x in range(header.image_width):
      p = img.get_pixel(y,x)
      f.write(p[2].to_bytes(1, byteorder='little'))
      f.write(p[1].to_bytes(1, byteorder='little'))
      f.write(p[0].to_bytes(1, byteorder='little'))
      f.write((0).to_bytes(1, byteorder='little'))

    f.seek((g_xsize - header.image_width - g_xoff) * 4, os.SEEK_CUR)
# Running in bash
> python3 tga.py 1920 750 300 test.tga /dev/fb0
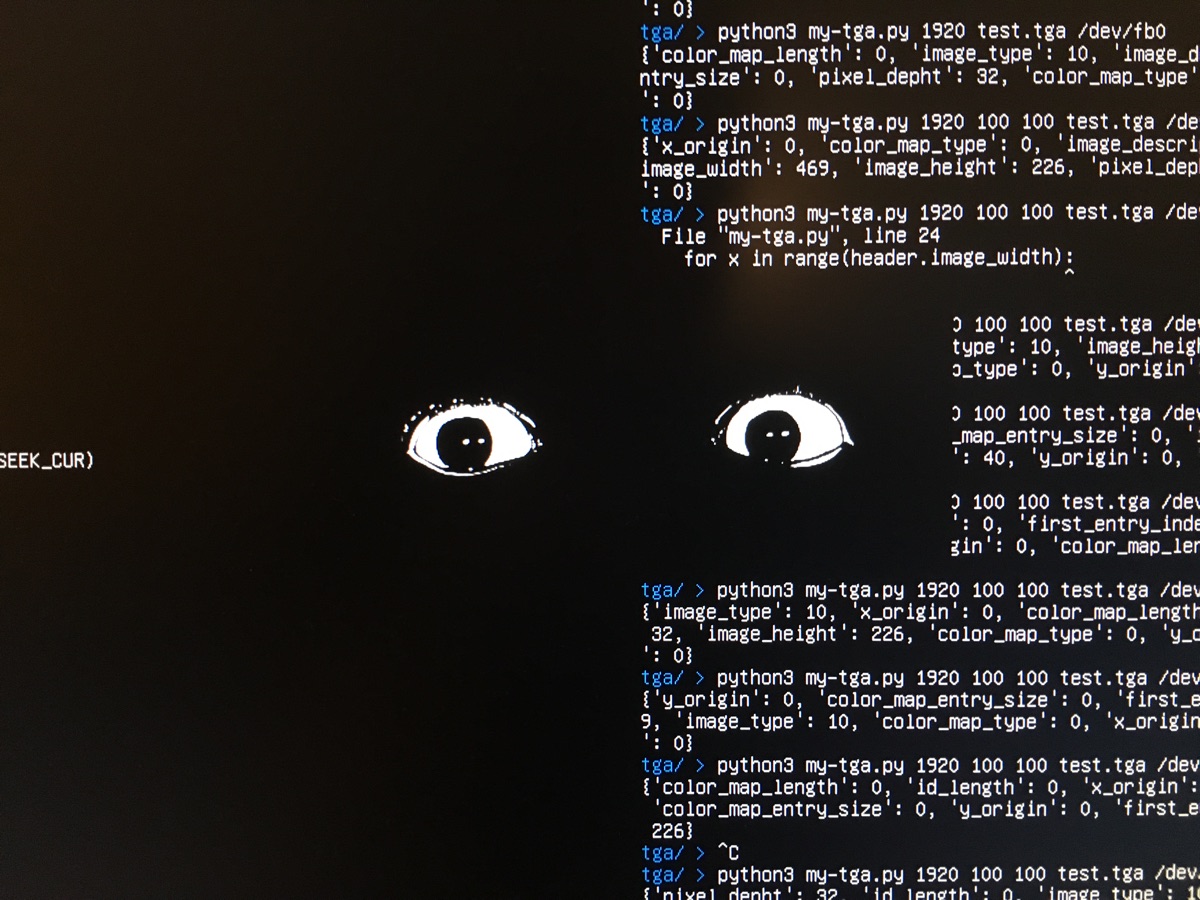
It works! Image rendered straight to the framebuffer
Framebuffer Extras
This has been super useful in connecting a bunch of loose threads I’ve had in my mind. It explains, for example, why the final step of OpenGL is rendering out to a framebuffer, and why double buffering (rendering to a hidden buffer, then swapping) helps (especially given how slow my python program is).
On the GUI side, From what I’ve found, a lot of custom GUI engines mostly just blit together bitmaps, and X11, along with many others (“MPlayer, links2, Netsurf, fbida,[2] and fim[3] and libraries such as GGI, SDL, GTK+, and Qt”) render out to the framebuffer. Some university classes even use Raspberry PIs to mess around with the framebuffer, and there’s some useful reading there because the architecture is very straightforward.